How to Install a Range Hood Vent Through the Ceiling: 8 Easy Steps
Last Updated: 8/1/2024
Author: James Zhao, Sr. Tech Specialist & Alex Park, Product Specialist
Installing a range hood vent through the ceiling may seem daunting, but with the right tools and guidance, it can be a straightforward and rewarding project.
In this comprehensive guide, we'll walk you through how to install a range hood vent through the ceiling in eight easy steps, ensuring optimal ventilation and air quality in your kitchen. From tools and materials to the final functionality test, we’ll discuss every necessary installation step, providing you with helpful maintenance tips for a long-lasting ventilation system.
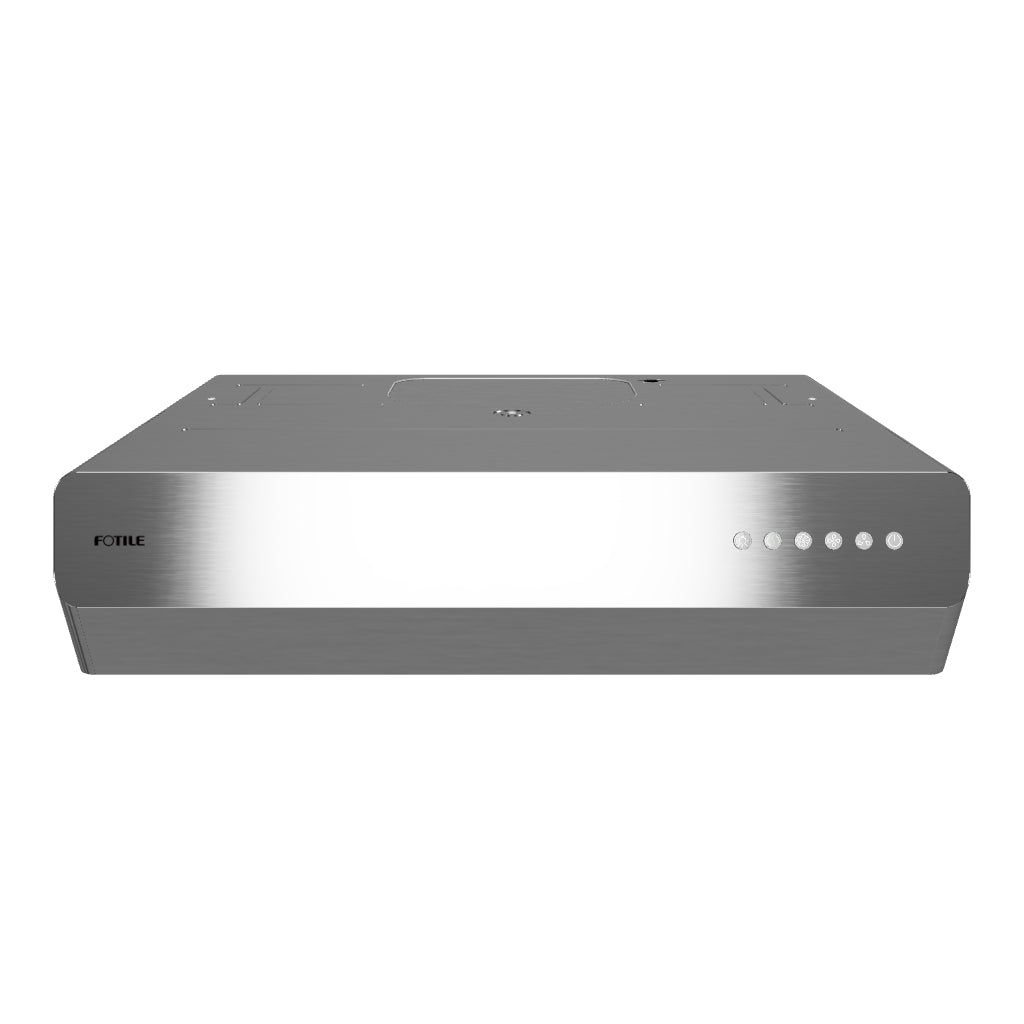
To find the perfect ventilation solution for your kitchen, browse FOTILE’s collection of sleek range hoods.
What Tools & Materials Do You Need When Installing A Range Hood Vent Yourself?
To effectively install your new range hood, you’ll typically need a drill, screws, a stud finder, a pencil, a tape measure, a reciprocating saw, and ductwork. These tools and materials will enable you to cut an opening in the ceiling, secure your ductwork, mount your vented range hood, and make any necessary connections. By gathering these necessary materials before you begin, you can streamline the installation process and avoid any unnecessary setbacks.
Be Sure To Check Local Building Codes Before Starting
Building codes may vary depending on your location and can dictate specific requirements for the installation of range hood vents. By familiarizing yourself with local building codes, you can ensure that your installation meets all safety requirements regarding clearance distances, ductwork specifications, and electrical considerations.
A Step-by-Step Guide to Installing a Range Hood Vent Through Your Ceiling
Follow these eight easy steps to achieve a successful range hood vent installation and enjoy improved ventilation, increased airflow, and a healthier kitchen environment.
1. Determine the Right Place To Install Your Range Hood
Before installing your range hood, select an optimal location above your cooktop to ensure efficient ventilation. Use a stud finder to locate the ceiling joists and ensure there are no obstructions, such as wiring or plumbing, in the area.
2. Mark the Ceiling
Based on the specifications of your new r range hood vent, use a pencil to mark the dimensions of the cutout area on the ceiling. Double-check your measurements to ensure accuracy before you begin cutting.
3. Cut a Hole in the Ceiling
Using a reciprocating saw, carefully cut along the marked lines to create the opening for the range hood vent. Take your time and make precise cuts to avoid damaging any electrical wiring or plumbing.
4. Install the Ductwork
Use a ceiling bracket, support brackets, and mounting screws to secure the ductwork within the opening, ensuring a tight fit. Address any bends in the ductwork using duct tape or sealant to prevent air leaks and optimize airflow in your vented range hood.
5. Mount the Range Hood
Mount the range hood into the opening in the ceiling according to the manufacturer's instructions. Make sure the hood is level with the ceiling, then use screws to secure it tightly and prevent movement.
6. Make the Electrical Connections
If your range hood requires electrical connections, carefully follow the manufacturer's instructions to make the necessary wiring connections. For your safety, ensure that the power supply is turned off before making any electrical connections.
7. Attach the Vent Cover
Once the range hood is securely mounted, attach the vent cover to the exterior of your home. Use proper sealing techniques and a roof cap (or vent cap) to prevent air leaks and debris infiltration, and weatherproof your vent for added durability and protection against the elements.
8. Test the Range Hood & Make Sure It Works
When your installation is complete, turn on your range hood and test the ventilation system for proper functionality. Verify that it effectively removes cooking odors and grease from your kitchen and make any necessary adjustments to fan speed for optimal performance.
Design and Aesthetic Considerations To Make Before Installing Your Range Hood
When selecting a range hood, choose a style that complements the overall design of your kitchen, whether it's modern or traditional. Consider the material and finish of the range hood to ensure harmony with other elements in your space. Aligning the size and shape of your range hood with your cooking surface provides a balanced and proportionate look, enhancing the visual appeal of your kitchen while optimizing functionality.
Tips for Maintaining Your Vented Range Hoods
Proper maintenance is key to ensuring the longevity and efficiency of your wall mount range hoods. It’s important to regularly clean the filters and remove grease and debris buildup, as clogging can reduce ventilation effectiveness. Depending on the type of filter your range hood uses, you may need to clean or replace it every few months.
Additionally, wipe down the exterior surfaces of the range hood with a damp cloth and mild detergent to remove any grease or stains. To avoid serious blockages or leaks, periodically check the ductwork and promptly address any bends or tears.
When To Consult A Professional For Range Hood Installation
If you're not confident in your ability to install your range hood, consulting a licensed electrician or contractor can minimize safety risks and damage to your home. If your kitchen layout presents challenges, such as complex ductwork or limited exterior access for venting, a professional installer can provide solutions to address your home’s specific needs.
Frequently Asked Questions
Discover the Perfect Fit for Your Kitchen with FOTILE’s Range Hood Collection
When properly installed using this comprehensive guide, range hood ventilation systems from FOTILE can provide a happier, healthier cooking environment within your home.
Browse FOTILE’s collection of sleek range hoods to discover innovative ventilation solutions for your kitchen.
- Choosing a selection results in a full page refresh.


